Perform a Basic Setup - System controls
Make initial connections and configurations to get started with TRES.
There are various uses for TRES, principally for accounting or for asset monitoring. No matter what your purpose, perform the basic setup as described in this page.
Before you Begin
Make sure you have fully activated your TRES account.
Make general system settings. Go to your avatar in the top-right corner of the screen. Click System Controls.
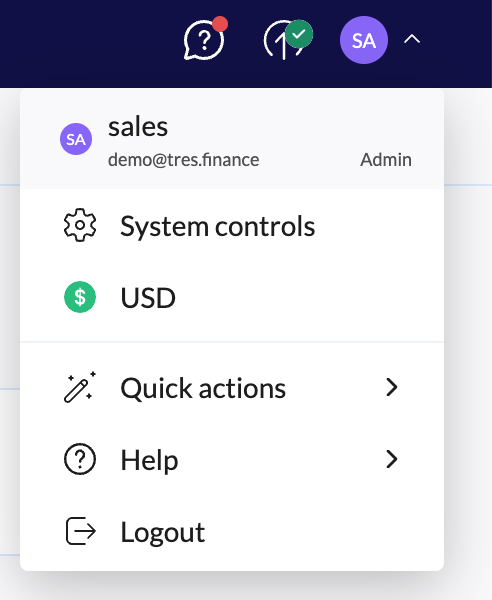
In the screen that is displayed, configure each of these sections:
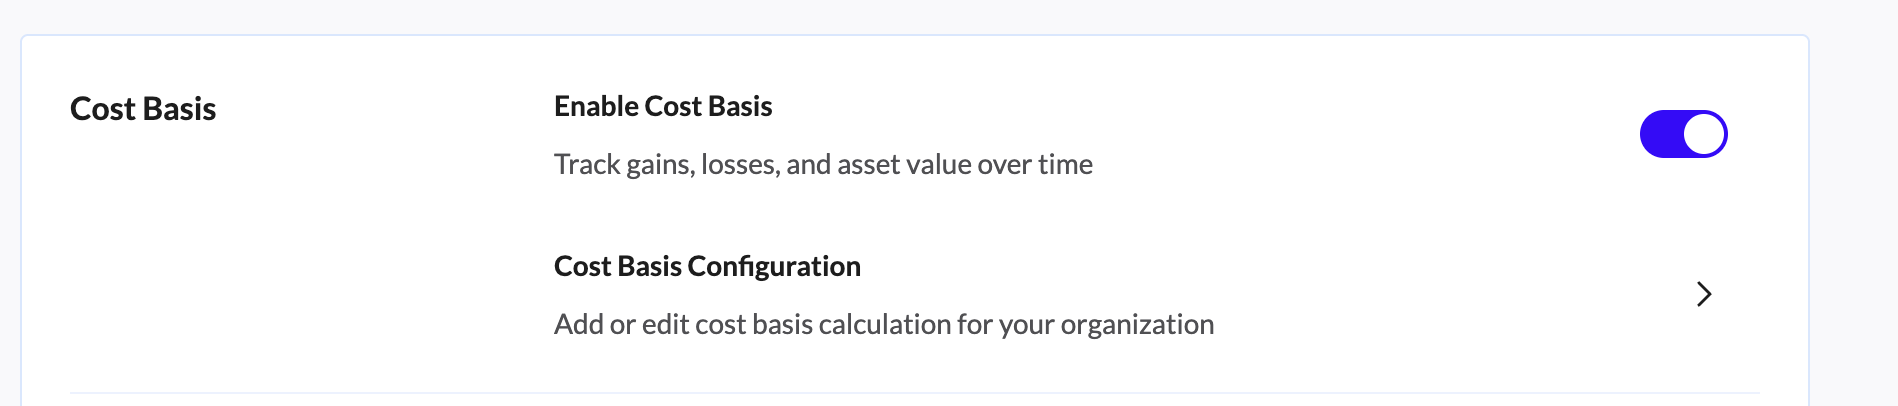
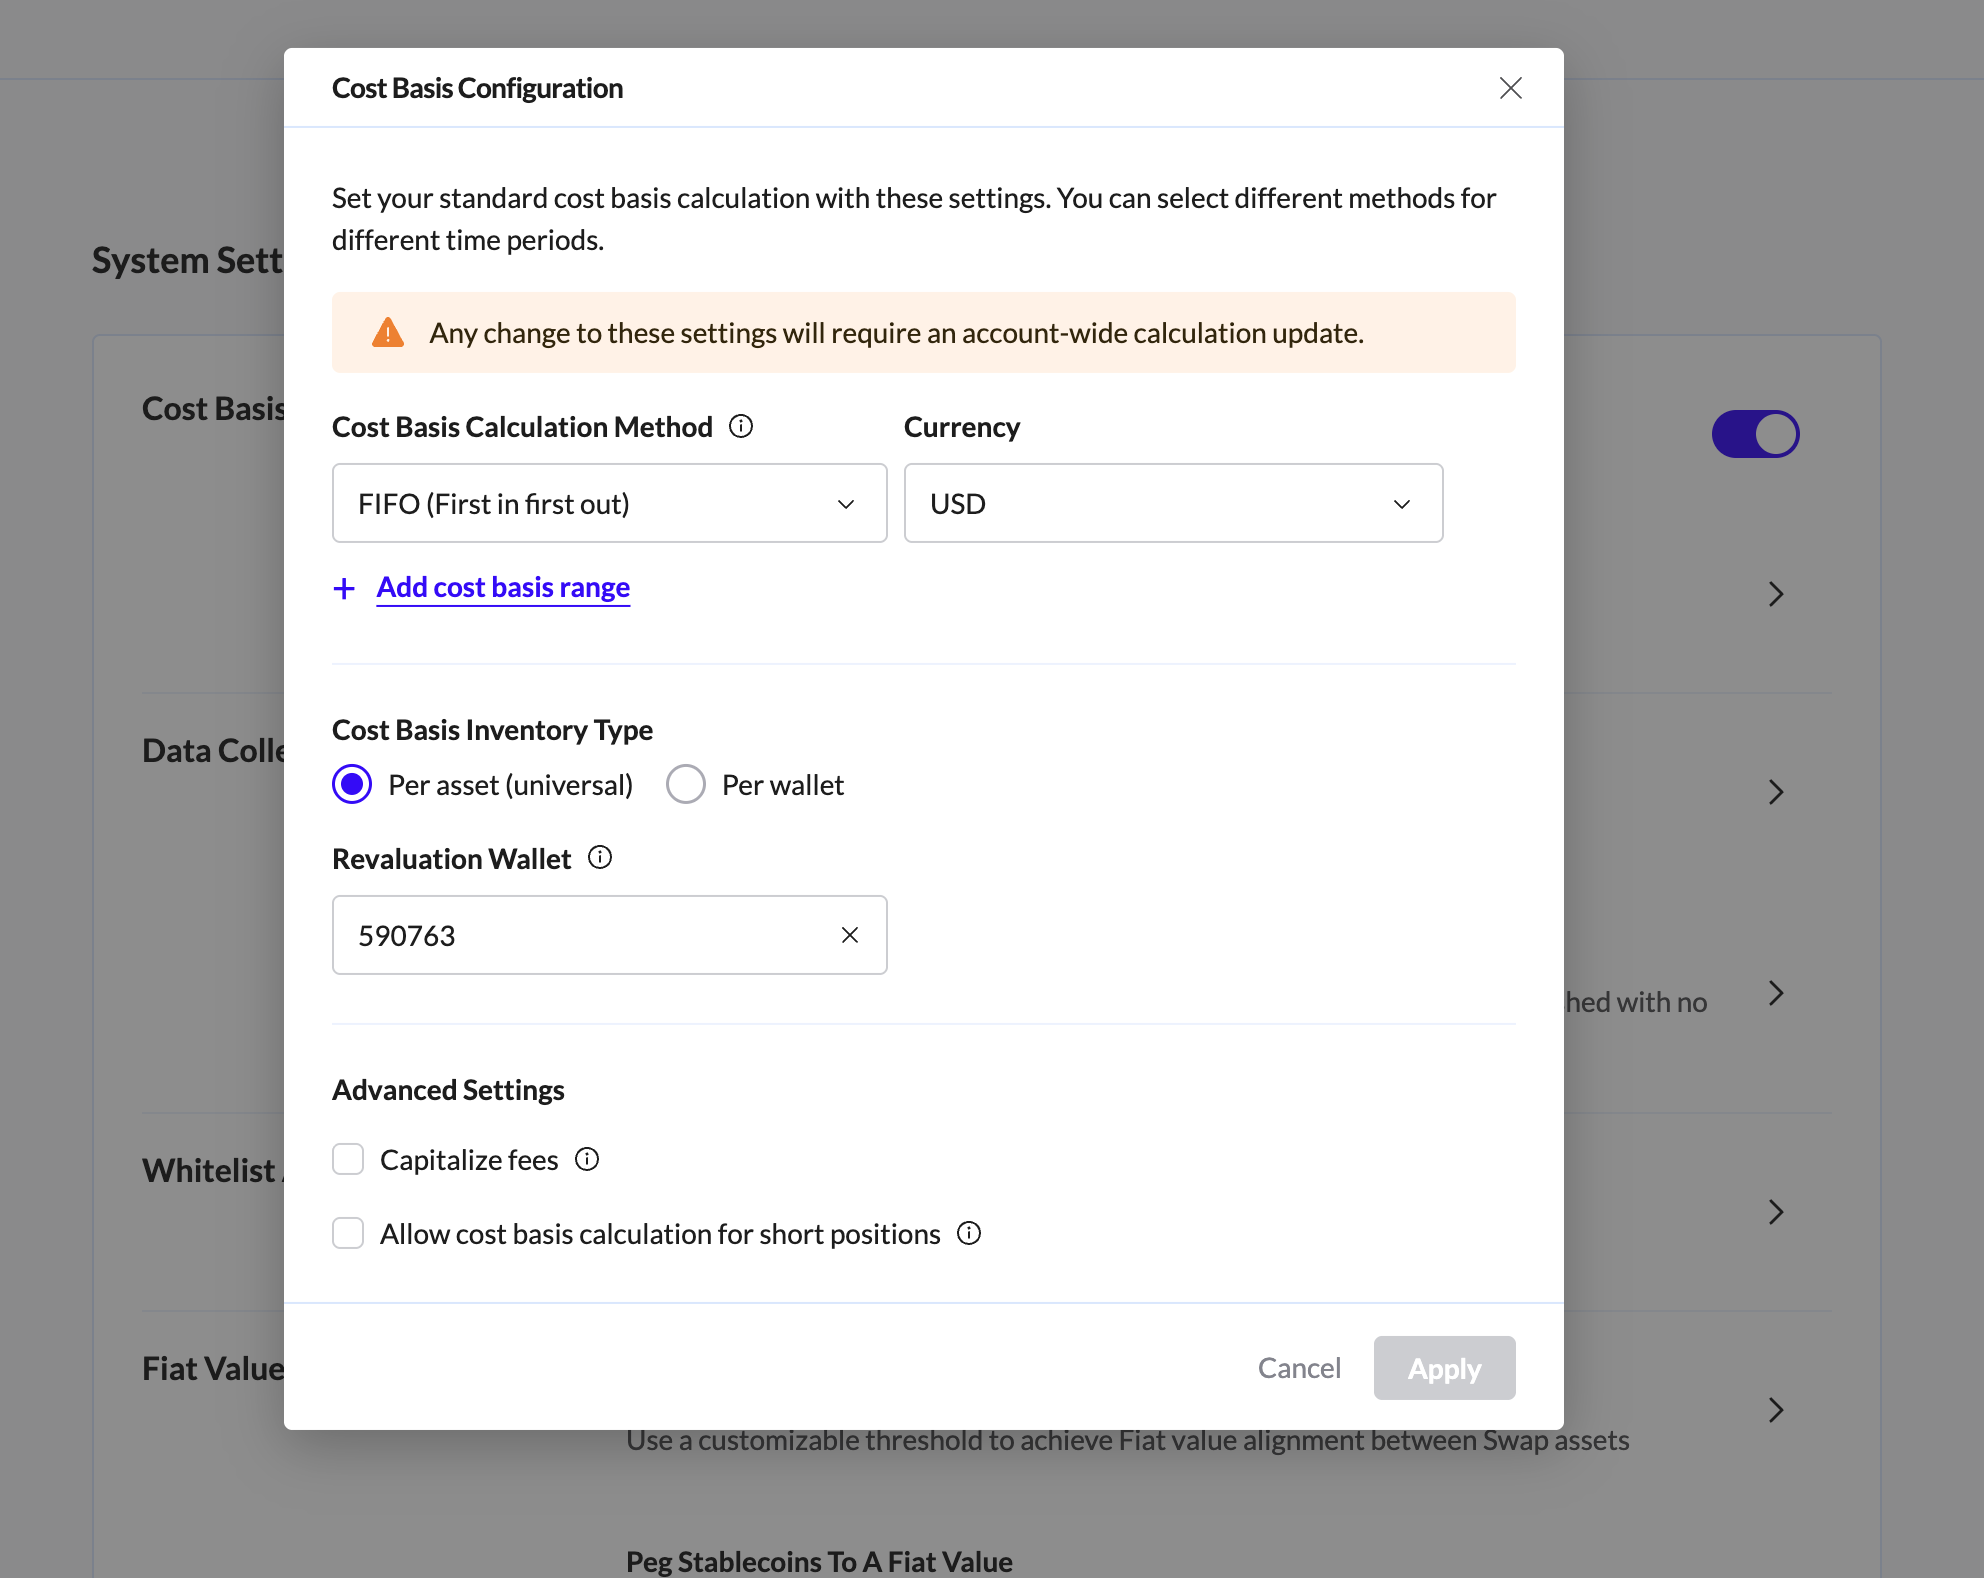
Cost Basis Configuration:
Enable Cost Basis: Choose on or off. If you would like to have realized gains and losses calculated, make sure the button is on. If the button is off the calculation will not be executed.
Currency: From the list, choose the currency in which your transactions are performed and displayed.
Method: Choose a cost basis method - either FIFO (first in, first out) or weighted average. The FIFO method requires that the cost of the lot being sold is calculated based on the first lot in the stack; weighted average calculates cost by averaging the cost of all lots.
Per Asset or Per Wallet: Options for calculating the cost basis. If per asset, all lots from all wallets are stacked together in one stack, based on the date on which they were received; if per wallet, assets are grouped in separate stacks, for each wallet and when they are sold, they are sold from a specific wallet and not from any other wallet stack.
Managing Network Data Collection
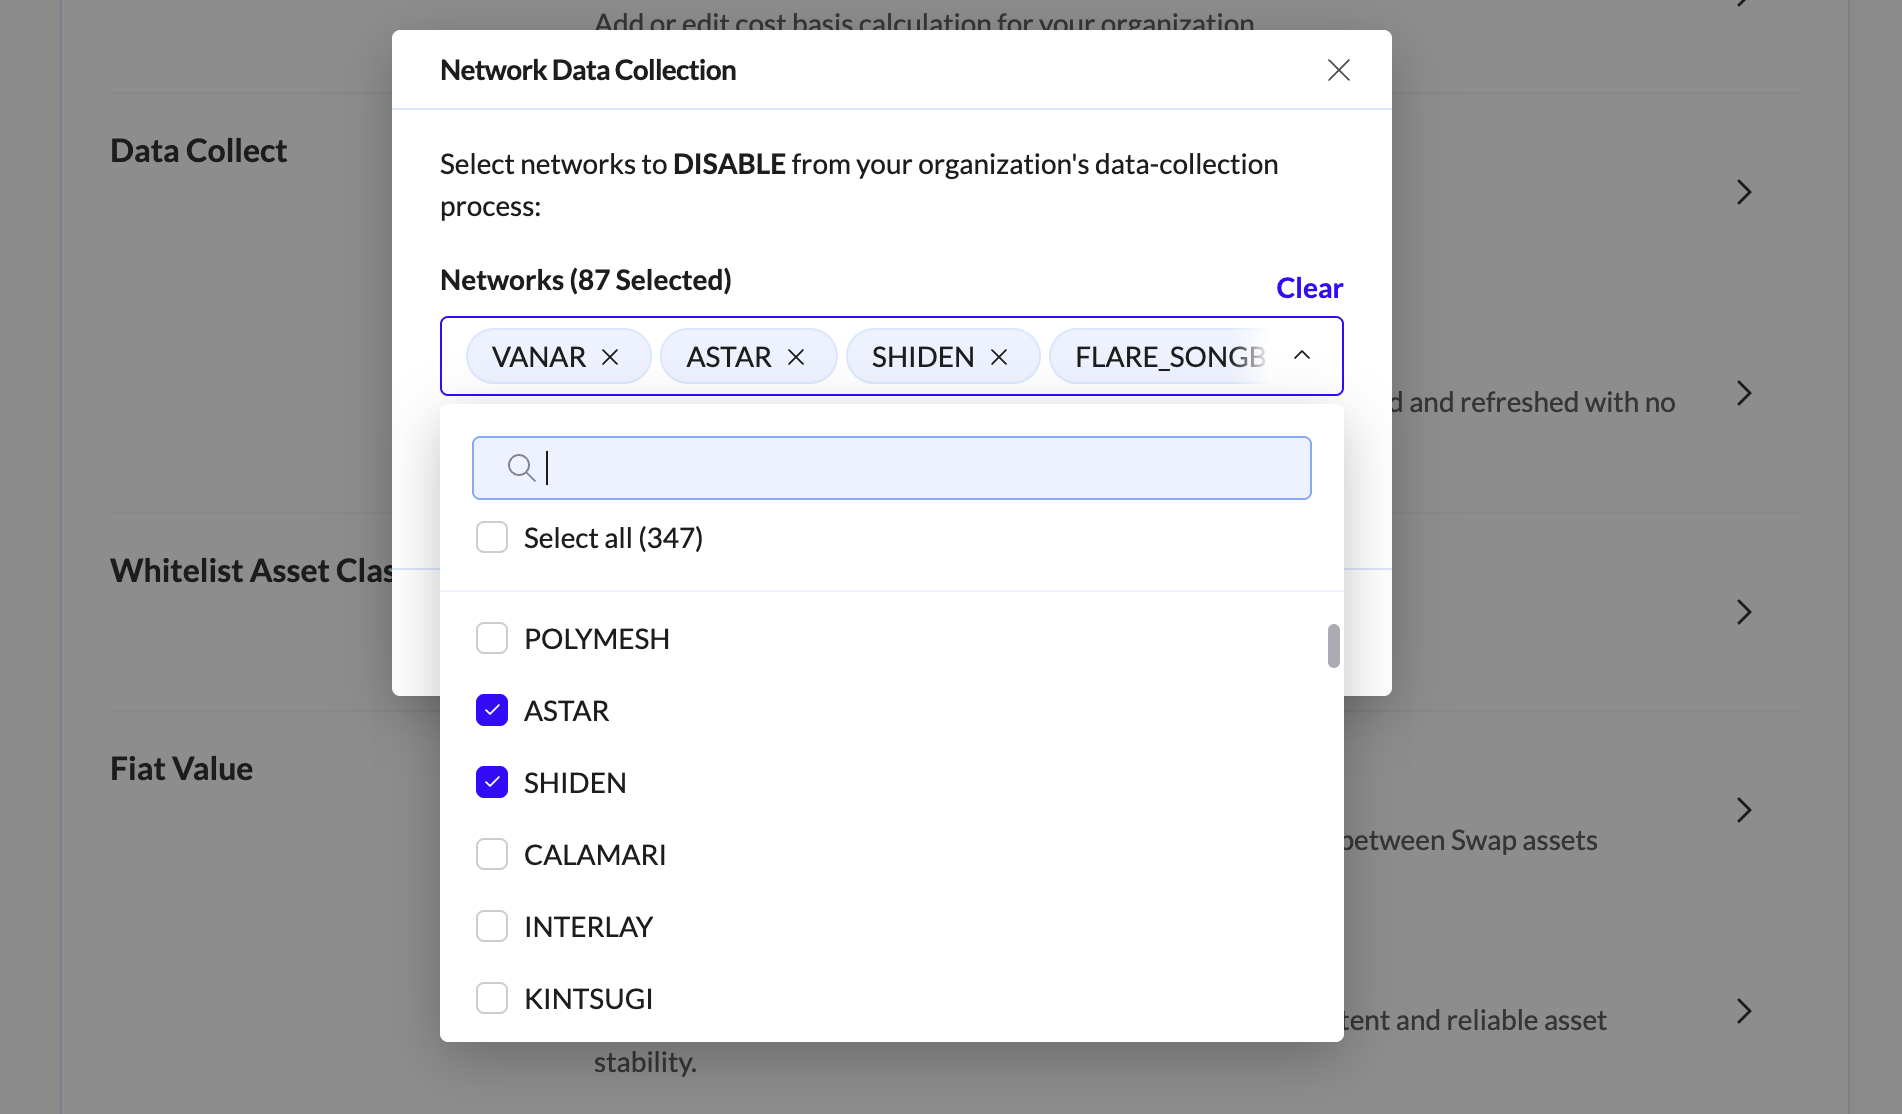
To maximize collection speed, Tres automatically disables networks not currently in use by your organization. You can manually manage these settings in System Controls > Network Data Collection.
How to Enable or Disable Networks
The selection list manages which networks to DISABLE.
To Enable a network: Uncheck the box (remove the checkbox).
To Disable a network: Check the box.
Syncing New Networks
If you enable a network after adding a new wallet, your transactions will appear:
Immediately: By triggering a manual Data Collect.
Automatically: During the next scheduled system data collection.
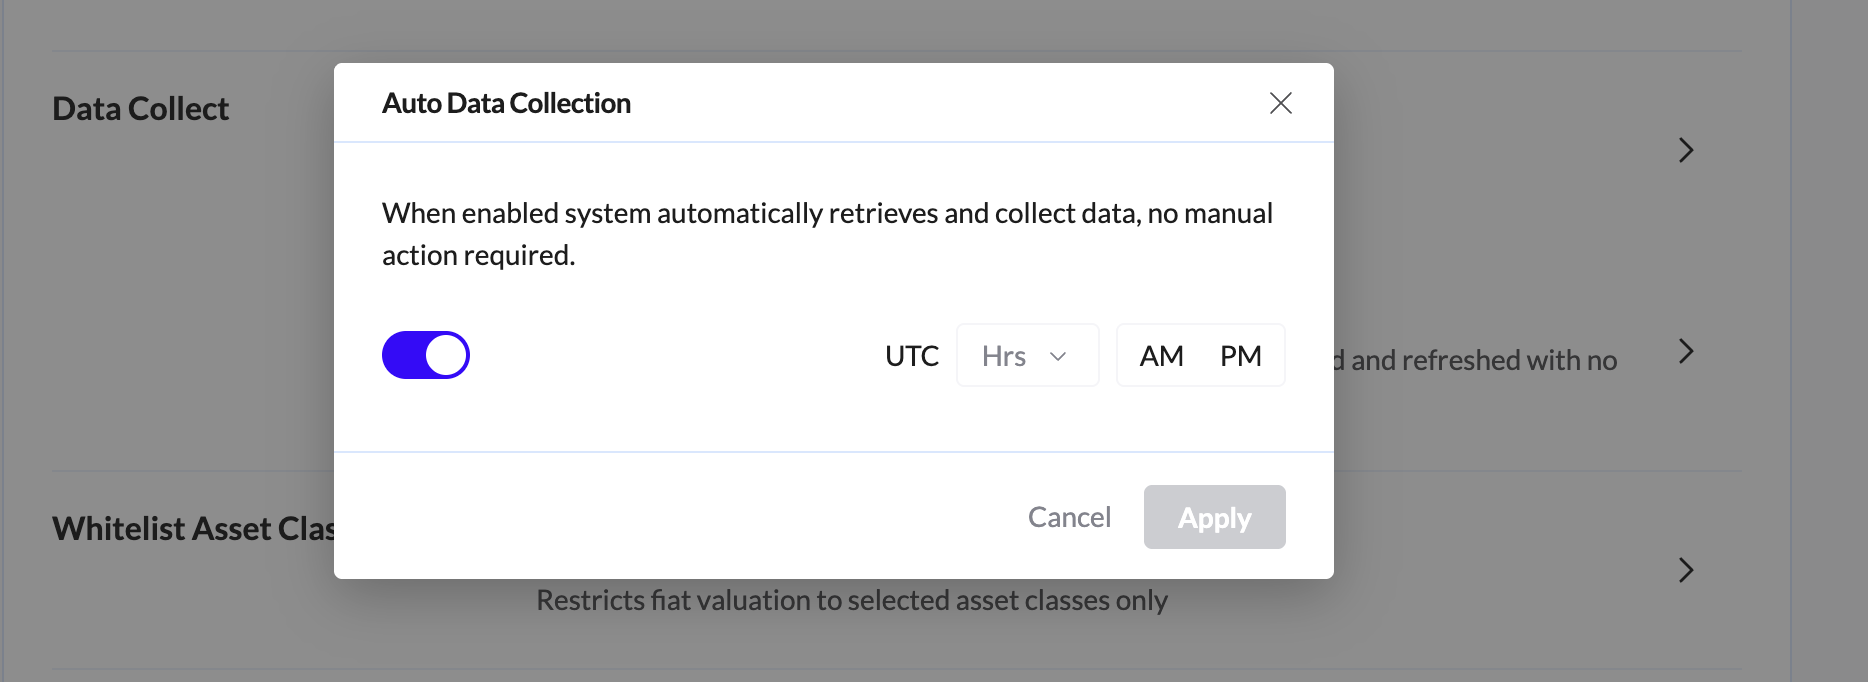
Enable Auto Data Collection
to automatically retrieve and sync your data daily without manual intervention.
Note: If the option to set a specific hour is not available in your account, please contact our Support Team to have it enabled.
Best Practice: We recommend scheduling your collection for midnight UTC. This ensures faster processing and prevents the sync from interfering with your daily workflow.
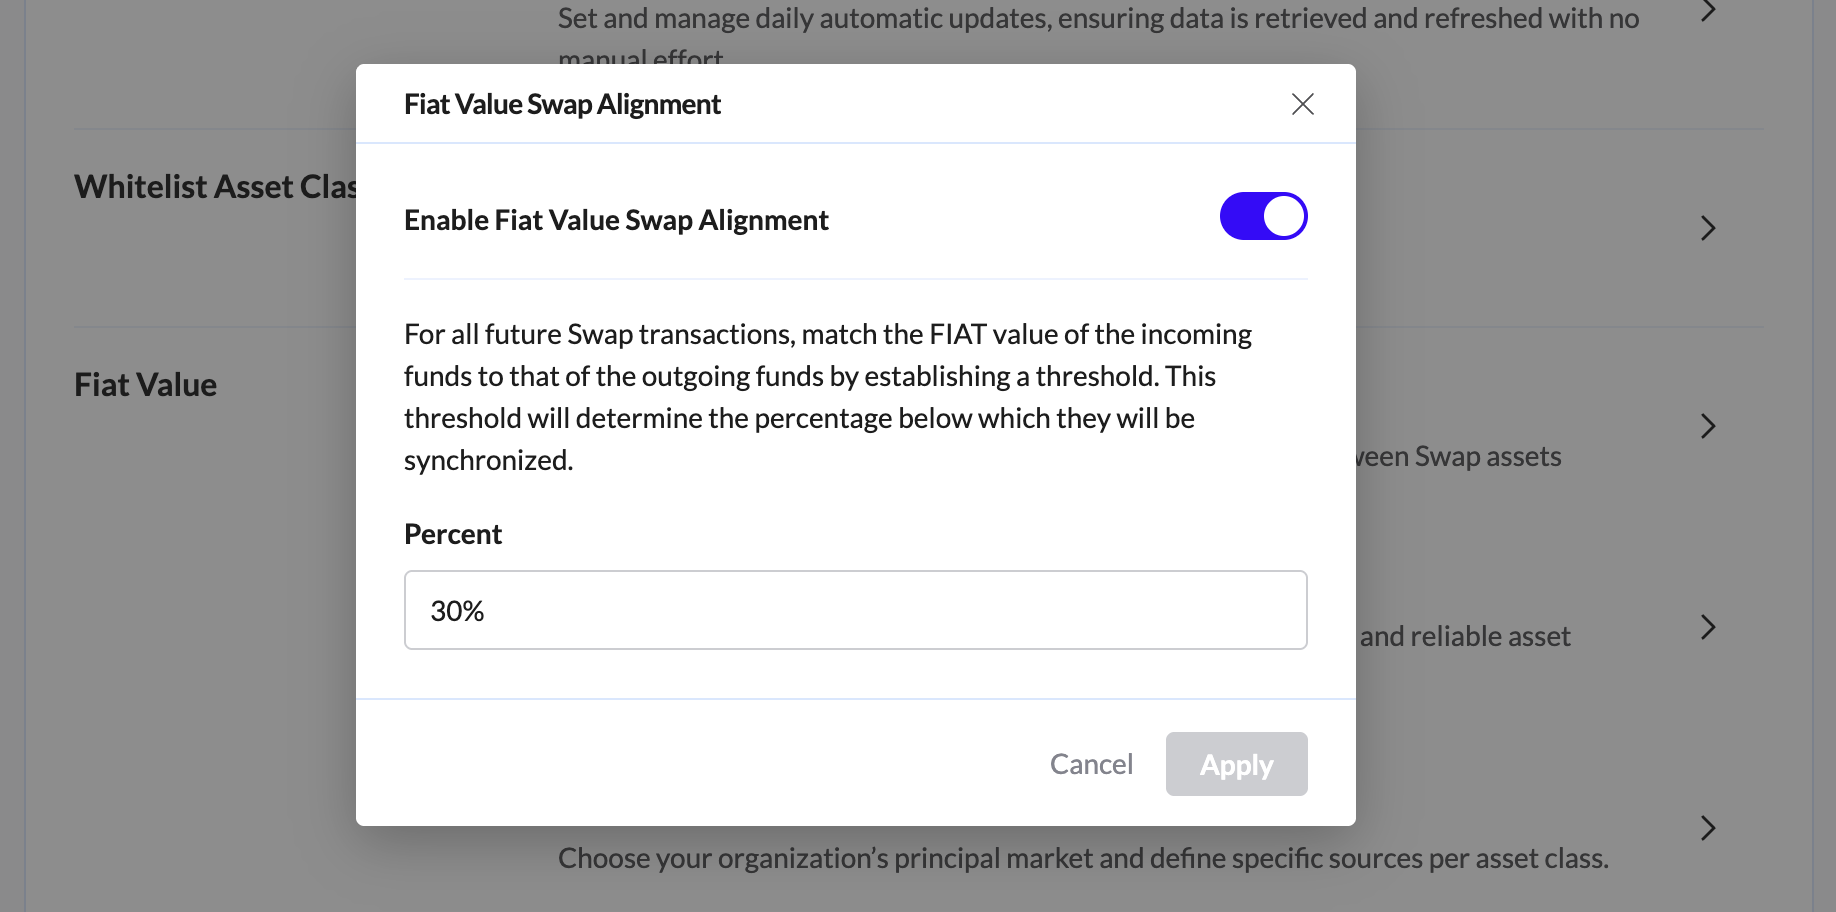
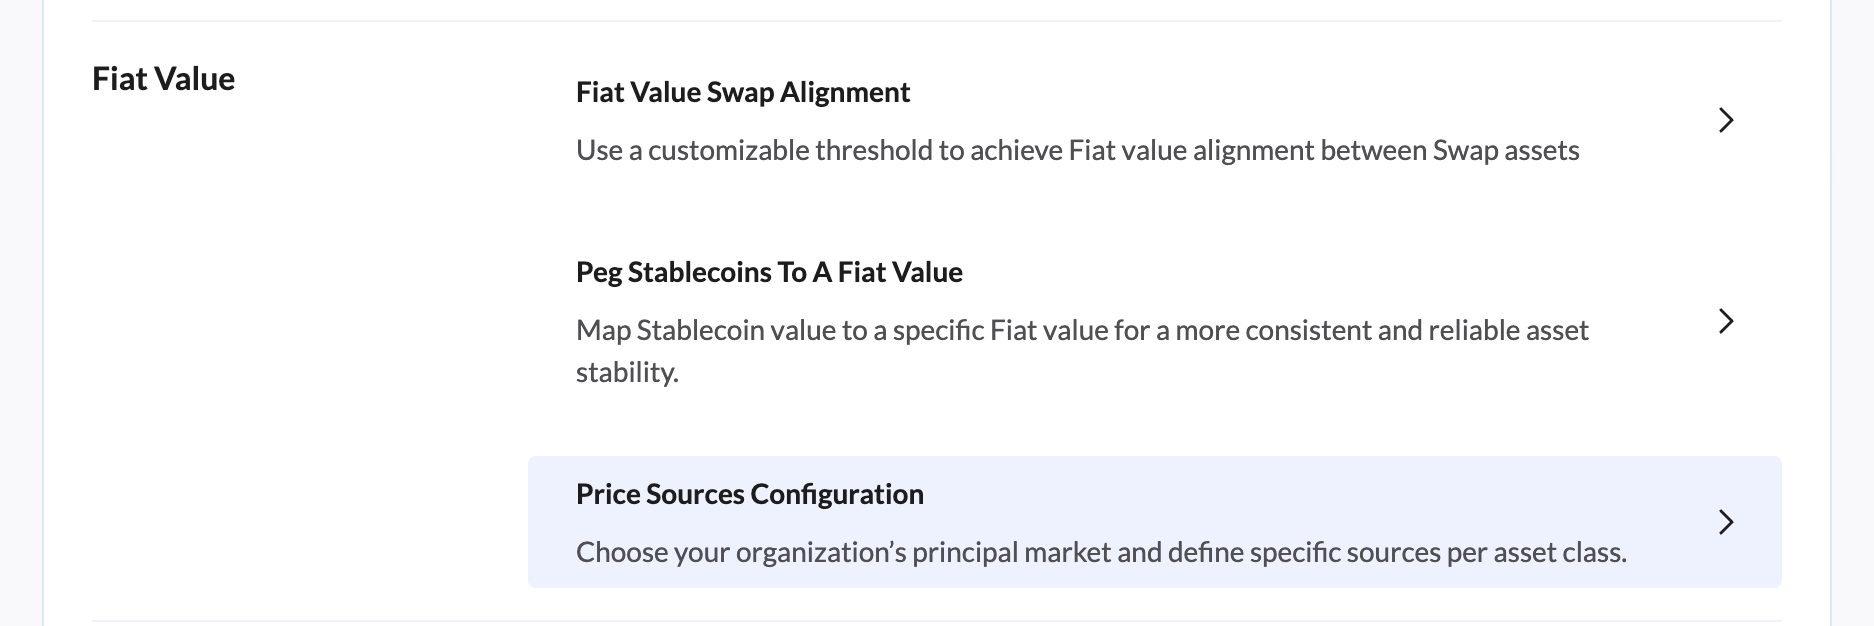
Fiat Value Swap Alignment:
Choose on or off. If on, then in case of a swap transaction, the fiat values of the outgoing and incoming assets will be aligned within the threshold percentage that you specify. If off, a swap of fiat tokens will be based on market rate values, and may not be necessarily aligned. To enable, click on, specify a percent, and click Apply.
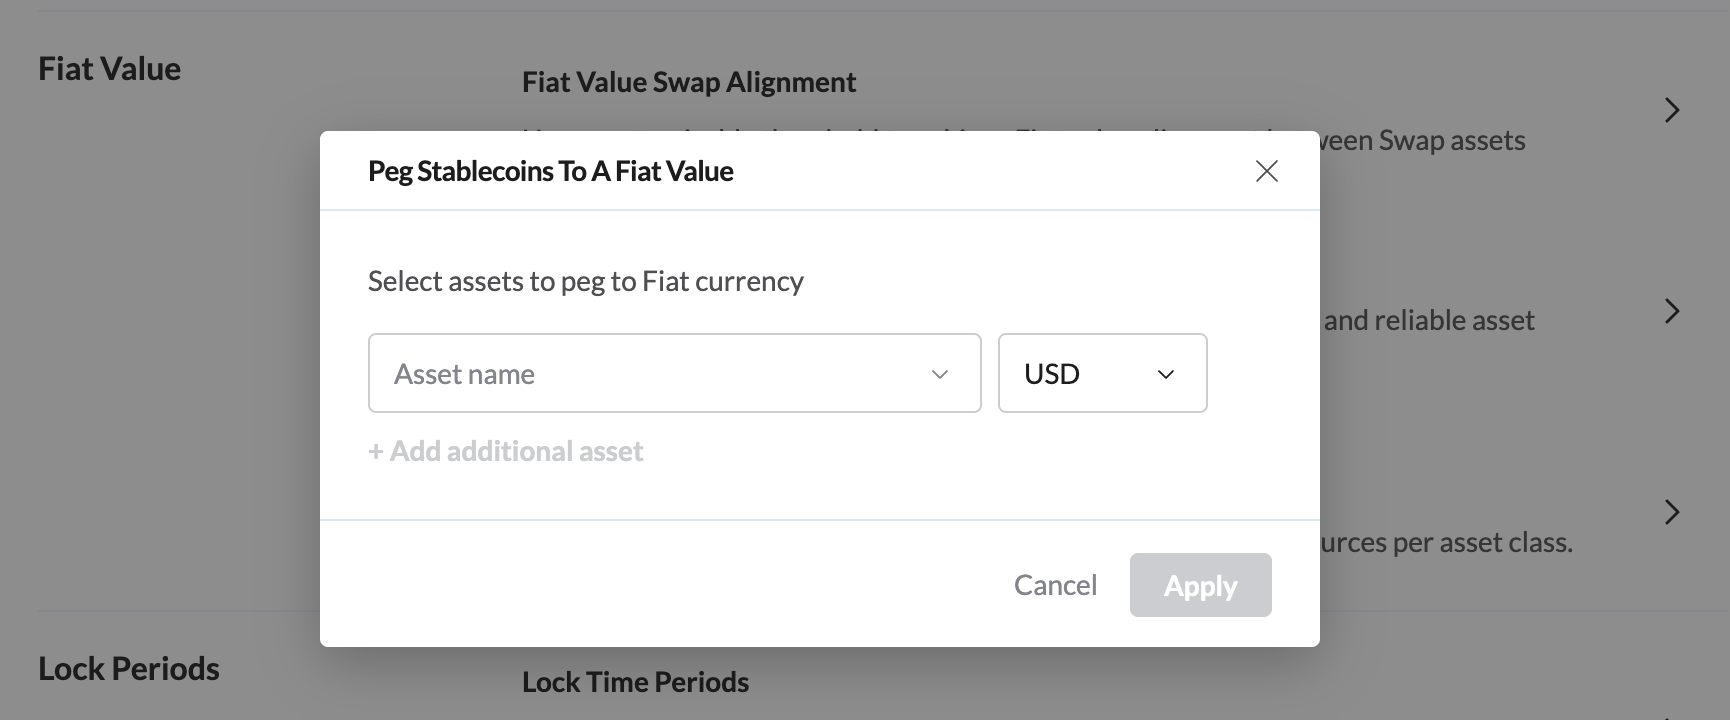
Peg Stablecoins to a Fiat Value:
If you would like to peg stablecoins to fiat values, pair a stablecoin in the left list with a fiat value in the right. To add pairs, click Add additional asset. When your pairings are complete, click Apply.
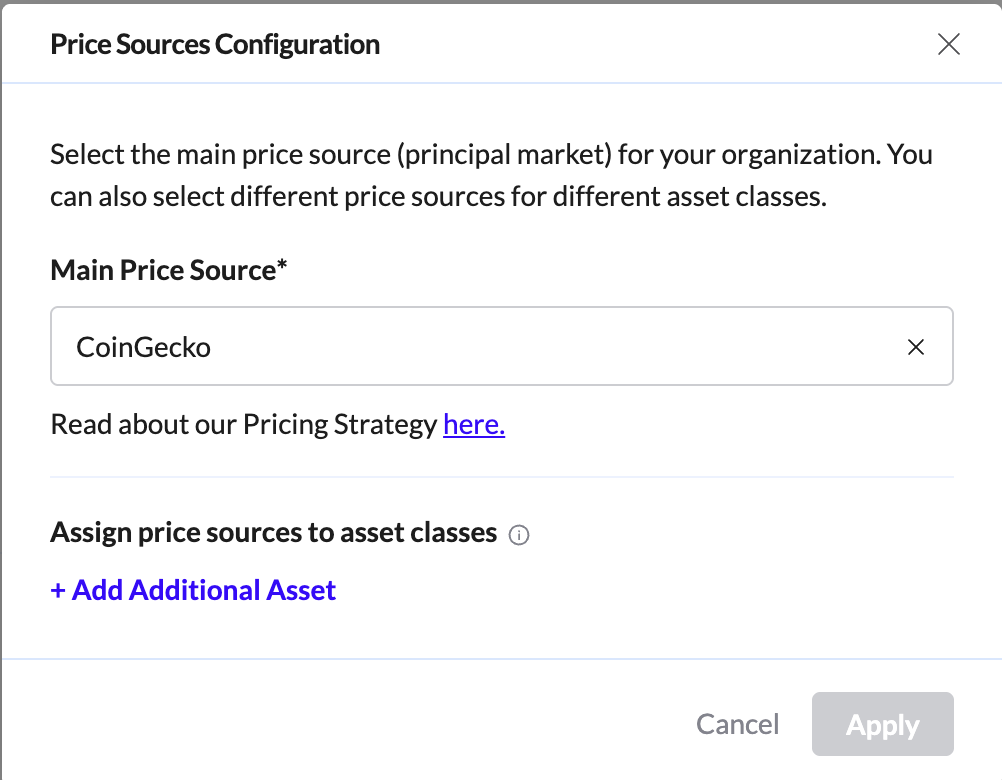
Price Sources Configuration
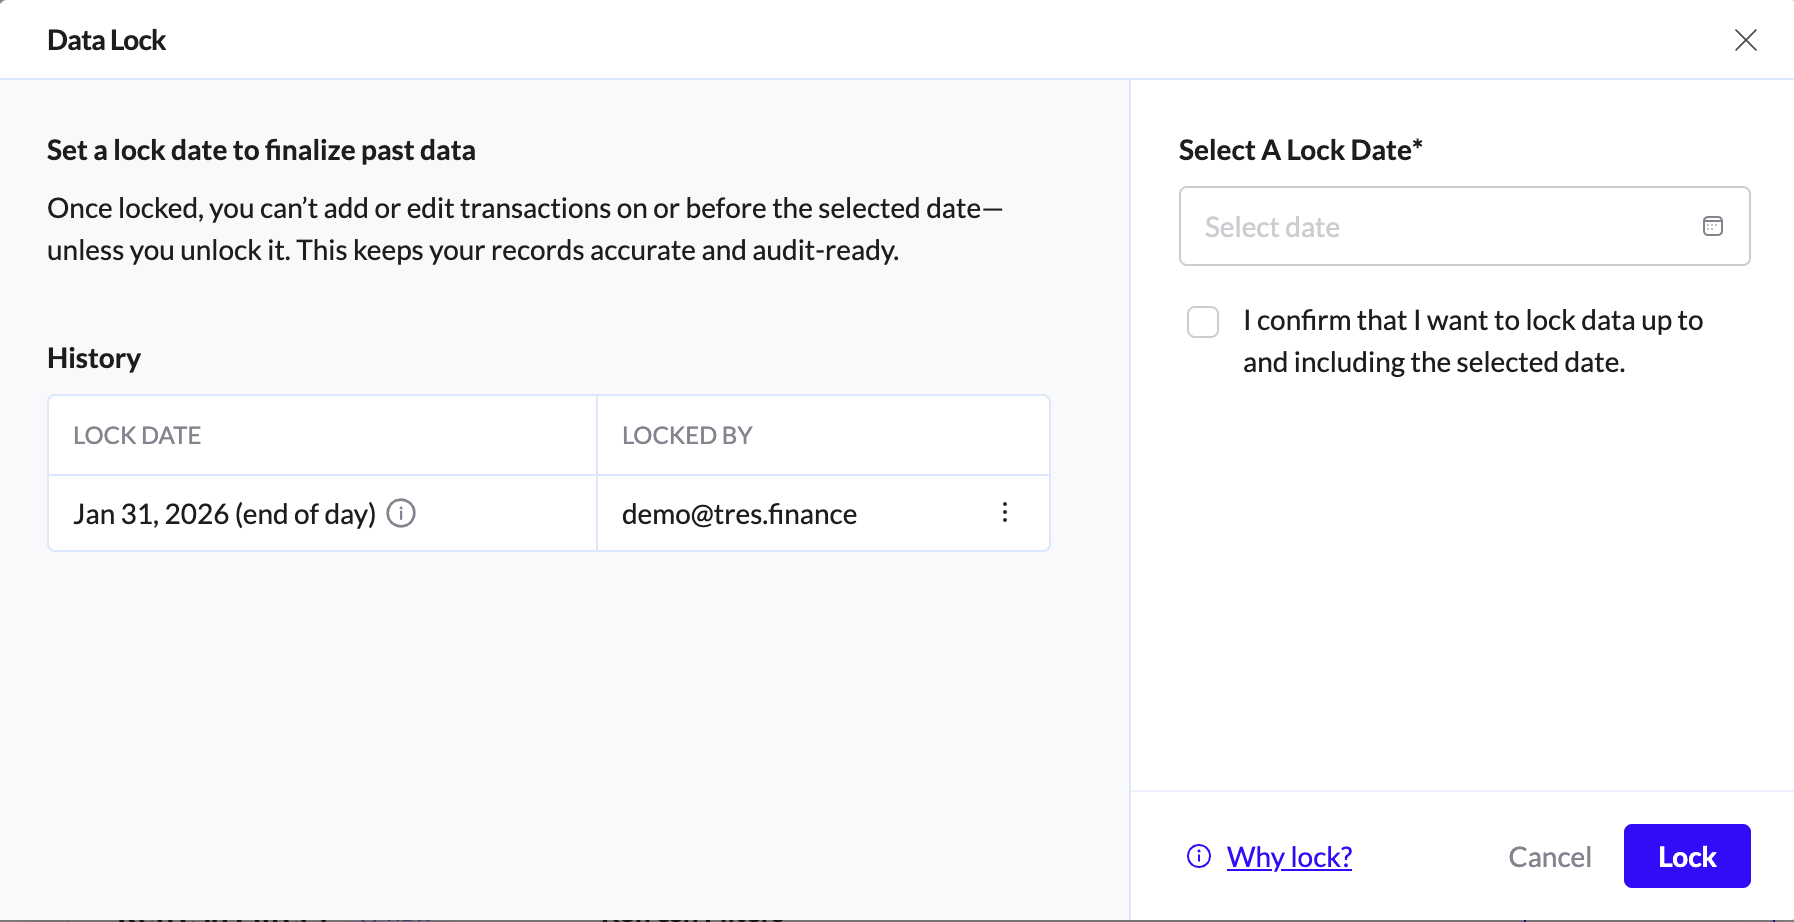
Lock Time Periods
Once Lock Months is enabled for a specific period, all data up to that date becomes fixed and protected from changes. The locking date is defined in the organization settings and represents the moment books are considered closed. From that point forward, FinOS will automatically prevent any updates that could affect the integrity of finalized records.
Please read more in this article.

Tag and categorize your wallets: To view the wallets in your account, in the console, select Accounts > My Wallets.
In this tab, you can add a wallet. You can select a specific wallet to see its details. You can then rename it, copy its address, assign it to a wallet group, and view the transactions that have been performed in it.
Tag and categorize your contacts. To view contacts, in the console, select Accounts > Contacts. Addresses in your account that have been assigned a name appear in this tab. (Addresses with no name appear in the Unidentified Addresses tab.) In this tab, you can edit contact details: click the menu at the end of a contact line, then view the account in the Ledger, assign the contact to one or more group, or delete the contact.
Tag transactions: TRES provides automatic tagging for specific transaction types. Since this is your organization's data, we suggest you create custom tags of your own, for example PAYROLL, OPERATIONS, SALARY. If you create custom tags, let TRES know which transaction parameters are associated with those tags, and we will create automations to assign those tags to the transactions.
Next Steps
For accounting purposes (including staking): go on to the Set up TRES for Accounting.